
The Multimodal
Cloud Storage Platform
A better cloud hosting service for your
personal files, built for the generative age
Join Waitlist → Beautiful and Blazing Fast
Ditch Finder and File Explorer with a cloud storage browser that you'll actually enjoy using everyday
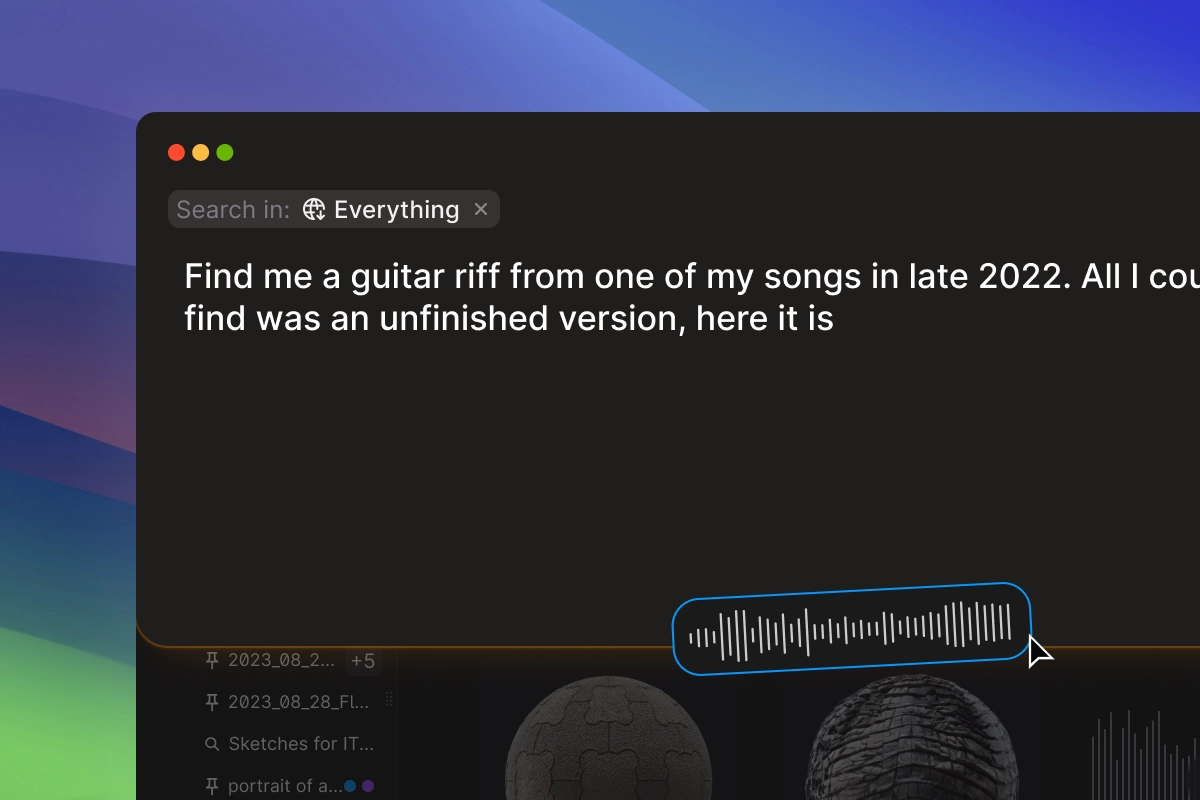
Find anything instantly, in your own words. Spend less time putting things in folders and just describe what you want with AI-enabled multimodal search.
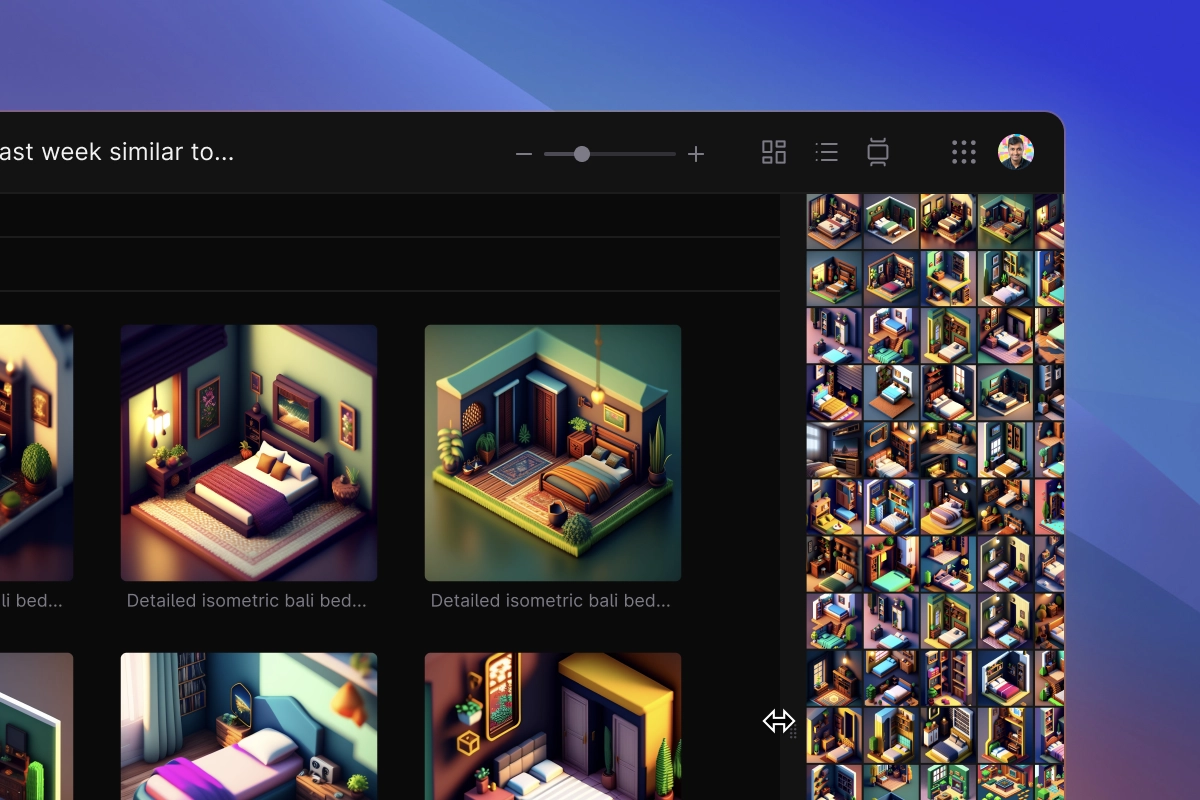
Fly through your assets with customizable layouts designed for browsing and organizing thousands of assets without interruption.
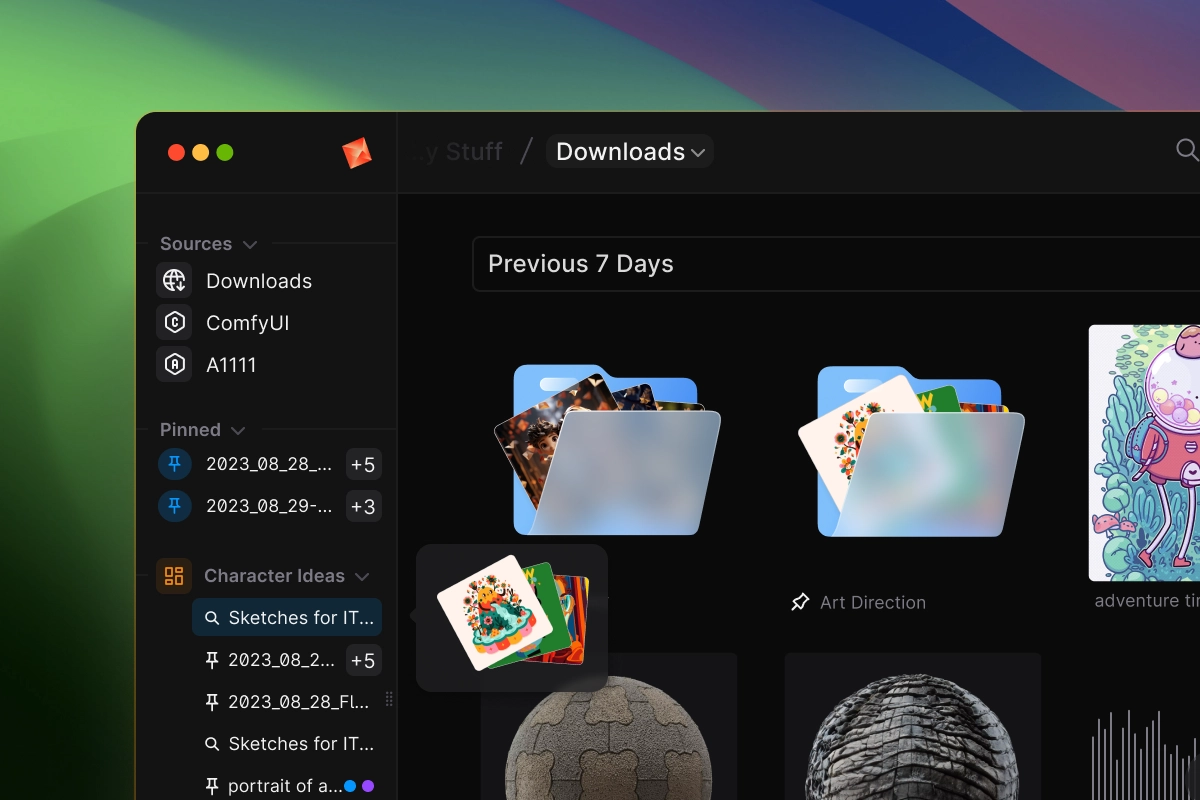
Save your searches and return to them in a click. Create dynamic collections that auto-update from newly added files, on your terms.
Convert assets in 1-click from within your file manager, and never juggle multiple file extensions again.
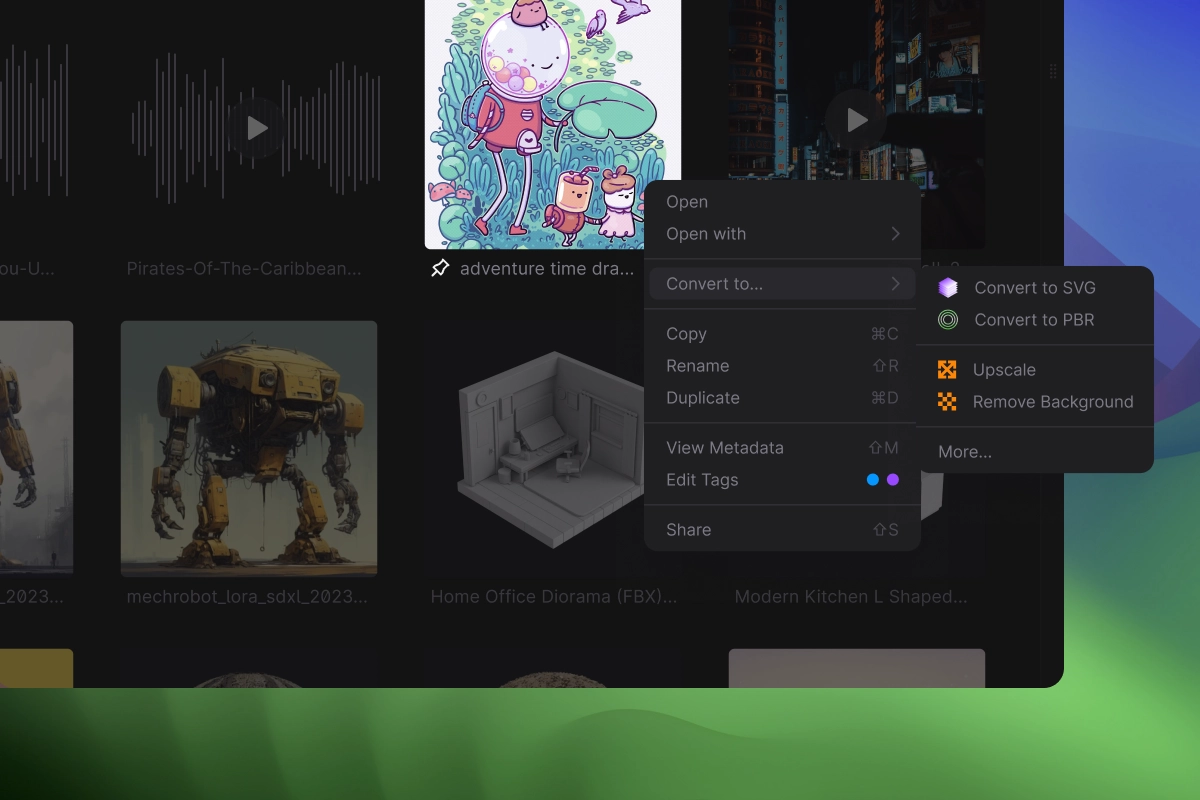
AI-Powered File Conversion
State of the art AI models to help you convert between asset types in seconds, so you’ll always have the highest quality file formats

Image to SVG
Turn your JPG and PNG bitmaps to SVG vectors automatically with AI

Image to Material
Convert existing images into tileable textures with 32-bit PBR maps

Audio to MIDI
Transcribe audio recordings into high quality MIDI data
Built for Generative Assets
An image browser designed to support outputs from your preferred models, including Automatic1111, ComfyUI, DALL-E, Midjourney, and more

GenAI-First
Browse, manage, and navigate all your media generated by AI


Connect & Auto-Import
Seamlessly add connections to your favorite apps and let us automatically import your files in the background

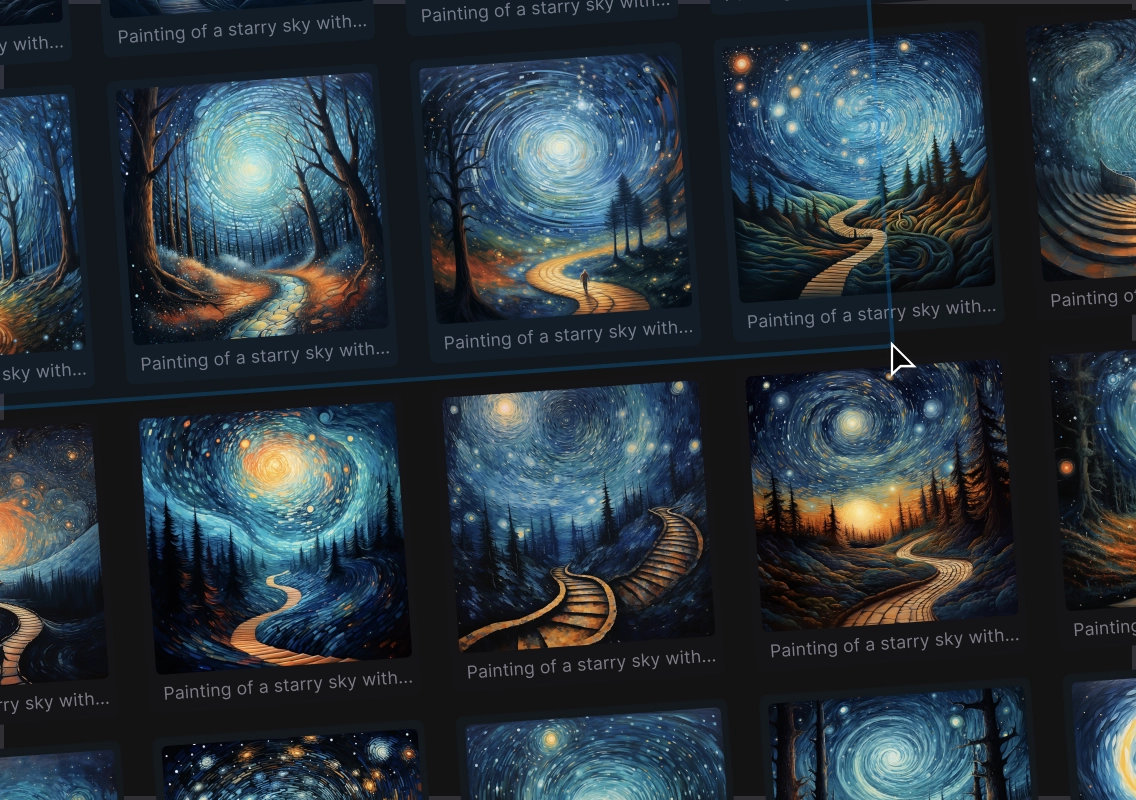
Browse with Dynamic Views
Lightning fast scroll with customizable image and thumbnail views, and multi-pane support for crafting your perfect workflows
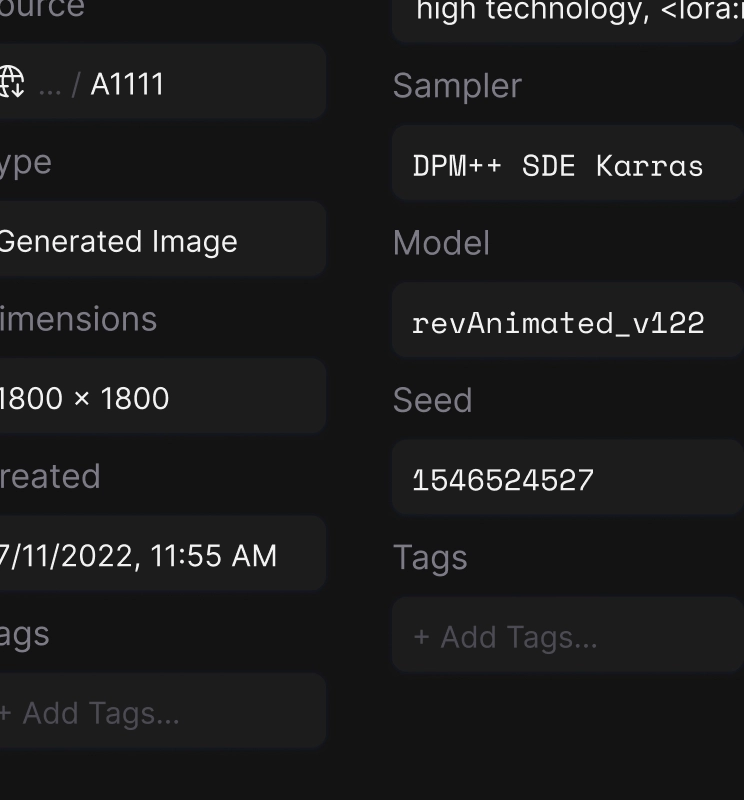
Access All Metadata
Search through prompt, seed, model, hash/name, CFG, and all other parameters in the image metadata
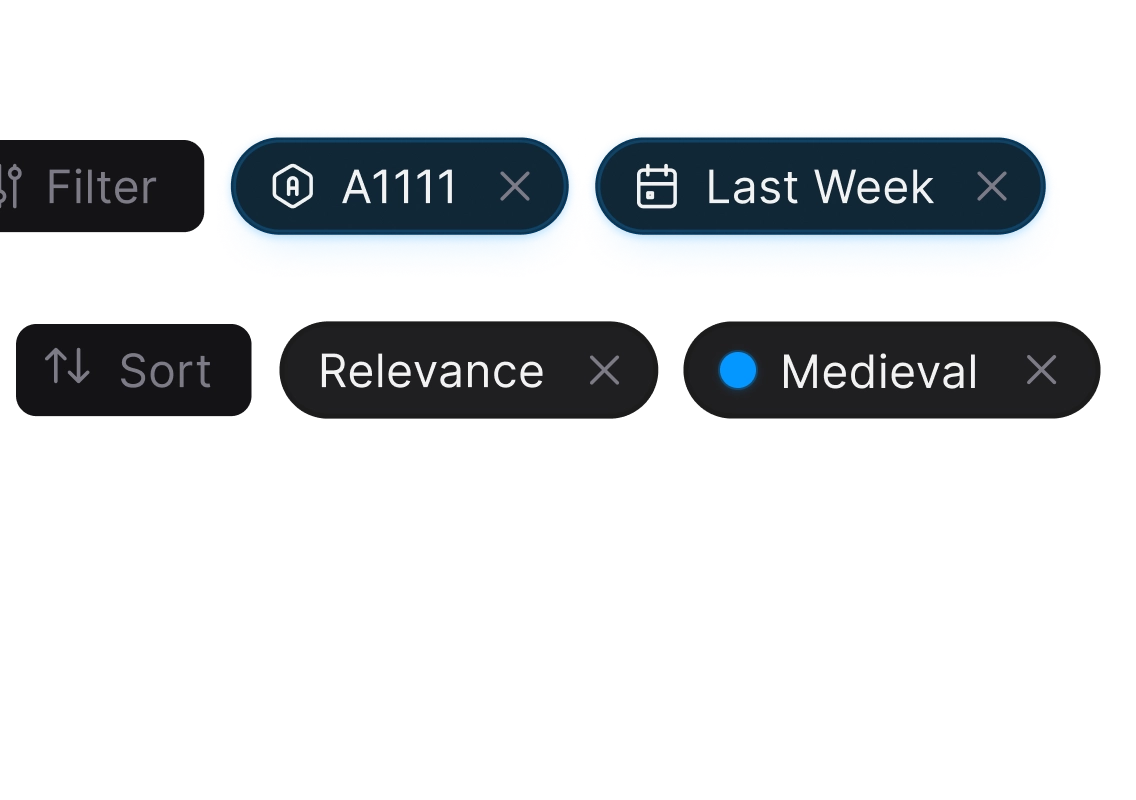
Advanced Search & Filtering
Search your files by prompt, organize your files into tags and filter them easily based on metadata attributes
Organize Content At Scale
Select and bulk delete files, rank and sort by aesthetic score, drag and drop to any other app for seamless integration
Made for Safe-Keeping
Poly’s file storage technology is built to scale, giving you the freedom to create without being encumbered by hard drives or slow file syncing.
Strong Encryption
Powered by AES256 encryption that ensures your stuff is for your eyes only.
Native-Speed Browsing
Our intelligent caching manages data storage, keeping browsing lightning fast.
High-Bandwidth
Our virtual distributed filesystem lets you upload and download to unlimited scale.
Extreme Durability
Our intelligent data tiering makes your content safe and sound.
Cloud-First Integrations
Editing your content in cloud-based editors and generative apps is hyper-fast
Version Control
Archive stuff you don’t need, and rewind versions of things you do.
Your AI-Native File Explorer
Still wondering why the world really needs yet another file system?